Gluing granite countertops requires precision and careful attention to avoid gaps between the seams. Here’s a step-by-step guide on how to properly glue granite countertops for a flawless finish:
- Prepare the Surface: Before applying any adhesive, it is essential to ensure that both surfaces—whether they are two granite slabs or the granite slab and the underlying cabinetry—are clean and dry. Use a lint-free cloth and a mild cleaner to remove any dust, grease, or other debris. Any dirt left behind can compromise the adhesive’s bond.
- Select the Right Adhesive: Choose a strong adhesive specifically designed for stone or granite surfaces. Epoxy adhesives are commonly used for this purpose because they create a durable, long-lasting bond. Some adhesives come in different colors, so pick one that blends well with your countertop to maintain aesthetic appeal.
- Dry Fit the Pieces: Before applying glue, position the granite slabs to check the fit. Ensure the edges are aligned correctly and that no significant gaps or unevenness are present. This is the time to make minor adjustments. It is crucial that the slabs fit tightly together to minimize the need for excessive adhesive.
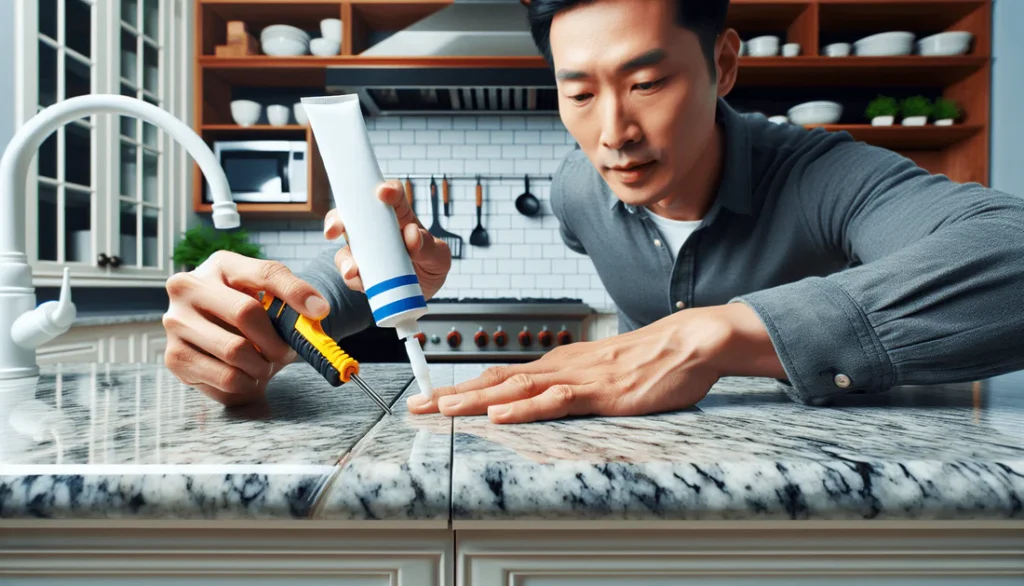
- Apply the Adhesive: Once the pieces are aligned and you are confident of the fit, apply a generous amount of adhesive to one edge of the granite. It is best to apply the glue to the seam where the two slabs will join. Use a notched trowel or a putty knife to spread the adhesive evenly along the edge, but be careful not to over-apply, as excess glue can spill over when the pieces are pressed together.
- Join the Slabs: Carefully align and press the two granite pieces together. Apply even pressure to the entire length of the seam to ensure a tight bond. If necessary, use clamps to hold the pieces in place while the adhesive sets. Be mindful of any gaps if you notice any, adjust the slabs immediately.
- Remove Excess Adhesive: While the adhesive is still wet, immediately clean off any excess glue using a cloth soaked in warm water. If the glue has begun to set and is more difficult to remove, use a razor blade to scrape it off gently. The goal is to ensure that no glue is visible after the pieces have bonded.
- Allow the Adhesive to Cure: Most epoxy adhesives require several hours to cure fully. Refer to the adhesive manufacturer’s instructions to ensure you are giving it enough time. Typically, you should leave the countertop undisturbed for at least 24 hours for the bond to reach full strength.
- Finish the Seams: After the adhesive has cured, check the seam for any unevenness. If there is a visible line or gap, use a color-matched granite filler to smooth it out and find more info here. This filler can be applied along the seam and smoothed with a putty knife. Once dried, the filler can be sanded lightly to match the countertop’s surface texture.
- Polish the Granite: Once the seams are secure and smooth, it is time to polish the entire countertop. Use a granite polish to bring out the natural shine of the stone. This will also help protect the surface and give it a seamless, professional finish.